
Rosetta Pattern


Technique Overview
The Rosetta pattern uses a steady back-and-forth motion while pouring milk. Start with the pitcher close to the surface, create the base layer, then move the pitcher in a wavy pattern while gradually lifting. The key is maintaining consistent milk flow and pitcher height throughout the pour.
Tulip Pattern

Pouring Method
Tulip patterns are created by stacking multiple layers. Pour milk in controlled amounts, pushing each layer forward to create petal-like shapes. Each pour should be slightly smaller than the previous, creating a layered effect. Milk texture and pitcher control are essential for clean separation between layers.
Swan Pattern

Complex Design
Swan patterns combine multiple techniques. Start with a heart base, then create the neck and head using a fine stream of milk. The body uses Rosetta-style waves, while the wing requires precise pitcher movement. This pattern demonstrates advanced milk control and timing.
Milk Texture
Proper milk texture is crucial for all patterns. Steam milk to create microfoam with small, uniform bubbles. The milk should have a glossy, paint-like consistency. Temperature should reach 60-65°C for optimal texture and sweetness.
Heart Pattern
Foundation Pattern
The heart is the simplest pattern and foundation for learning. Pour milk from height to create the base, then lower the pitcher and pour through the center while moving forward. Pull through the center to create the point. This pattern teaches basic milk flow control.
Pouring Fundamentals
Master the heart pattern before attempting complex designs. Focus on consistent milk flow, proper pitcher angle, and steady hand movement. Practice maintaining the same pour speed and height throughout the pattern creation.
Pattern Techniques
Milk Steaming
Position the steam wand just below the milk surface. Create a vortex by angling the pitcher. Listen for a paper-tearing sound during initial aeration, then submerge the wand to heat the milk. Stop when the pitcher becomes too hot to touch.
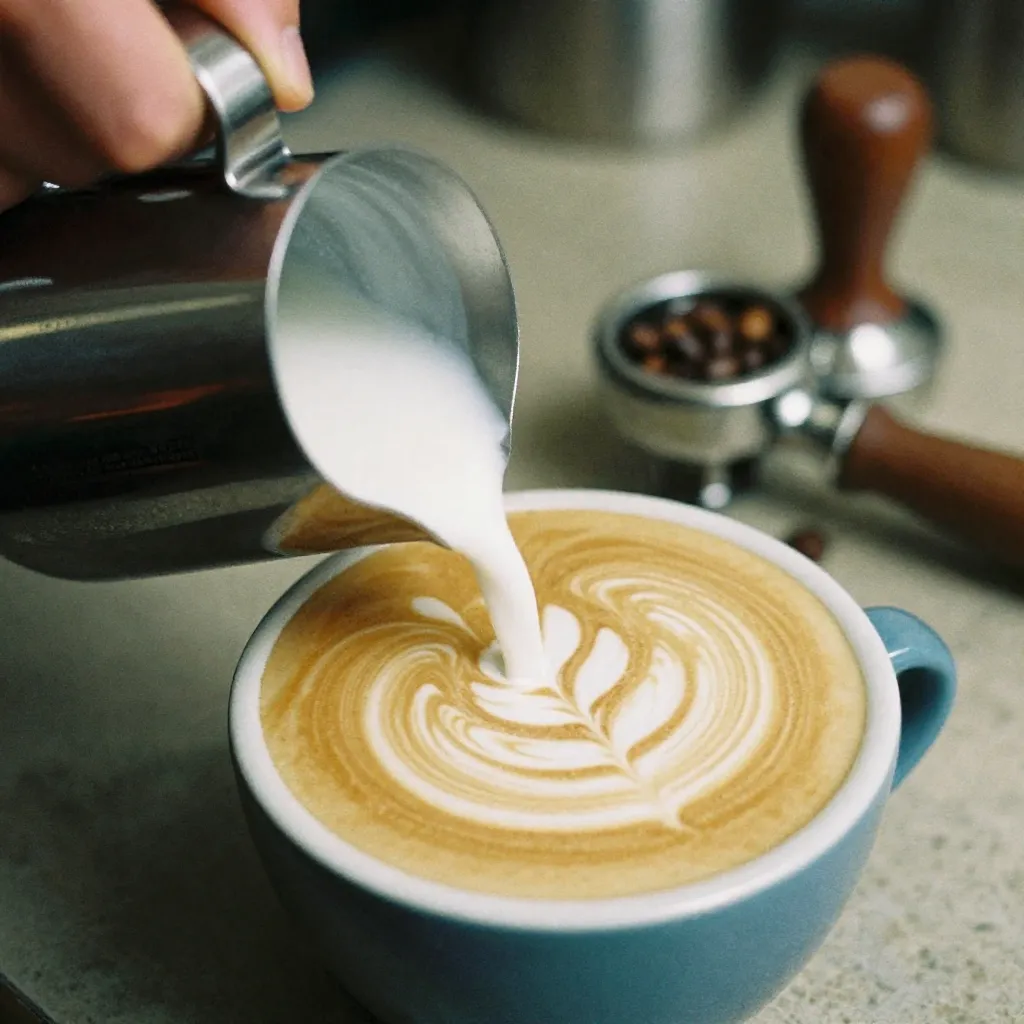
Pouring Height
Start pouring from 10-15cm height to mix milk and espresso. Lower to 3-5cm when creating patterns. Closer pours create defined shapes, while higher pours create softer edges. Adjust height based on desired pattern contrast.
Pitcher Control
Hold the pitcher with a relaxed grip, using wrist and arm movement for control. Practice consistent flow rate by maintaining steady pressure. Tilt the cup slightly toward the pitcher to improve pattern definition and control.